How to Jump a Car Battery with a Jump Starter?

In this guide, readers will learn how to jump a car battery with a jump starter. From understanding the equipment needed to executing the procedure with precision, this article provides valuable insights and practical guidance for general readers seeking to confidently tackle this common automotive issue. Whether you’re a novice or experienced driver, this informative piece aims to equip you with the knowledge and skills to handle a dead battery situation with ease.
Understanding the Equipment Needed
When faced with a dead car battery, having the right equipment is crucial to safely and effectively jump start your vehicle. In this section, we will discuss the essential equipment needed, including jump starters, their types, and key features to look for.
Introduction to Jump Starters
A jump starter, also known as a battery booster jump box or portable jump starter, is a handy device that allows you to jump start your car without the need for another vehicle. It is a standalone power source that provides the necessary boost to start a vehicle with a dead battery.
Types of Jump Starters Available
There are two main types of jump starters: traditional jumper cables and portable jump starters. Traditional jumper cables require a second vehicle to provide the power needed to jump start your car, while portable jump starters are standalone units that can be used without the assistance of another vehicle.
Key Features to Look for in a Jump Starter
When choosing a portable jump starter, look for features such as peak current, battery capacity, safety features (such as reverse polarity protection), and additional functionalities like built-in flashlights or USB ports. These features can enhance the usability and safety of the jump starter.
Preparing for Jump Starting
Before jump starting your car, it’s important to take some safety precautions and prepare the necessary steps to ensure a smooth and safe process.
Safety Precautions Before Jump Starting
Always wear safety glasses and gloves when working with car batteries to protect yourself from any potential acid or electrical hazards. Ensure that the jump starter is turned off before connecting it to the battery to avoid any sparks or electrical mishaps.
Identifying the Battery and Jump Starting Points
Locate the car battery and identify the positive and negative terminals. It’s crucial to connect the jump starter correctly to avoid any damage to the vehicle’s electrical system. Refer to the car’s manual for the exact location of the battery and jump starting points.
Inspecting the Battery for Any Damages or Leaks
Before jump starting, inspect the car battery for any damages, leaks, or corrosion. If the battery appears damaged or is leaking, do not attempt to jump start the vehicle, as it may pose safety risks. In such cases, it’s best to seek professional assistance.

Executing the Jump Starting Process
Now that you’ve prepared the necessary equipment and taken safety precautions, it’s time to execute the jump starting process using the jump starter.
Step-by-Step Guide to Jump Starting with a Jump Starter
- Turn off the ignition and all electrical components in the vehicle.
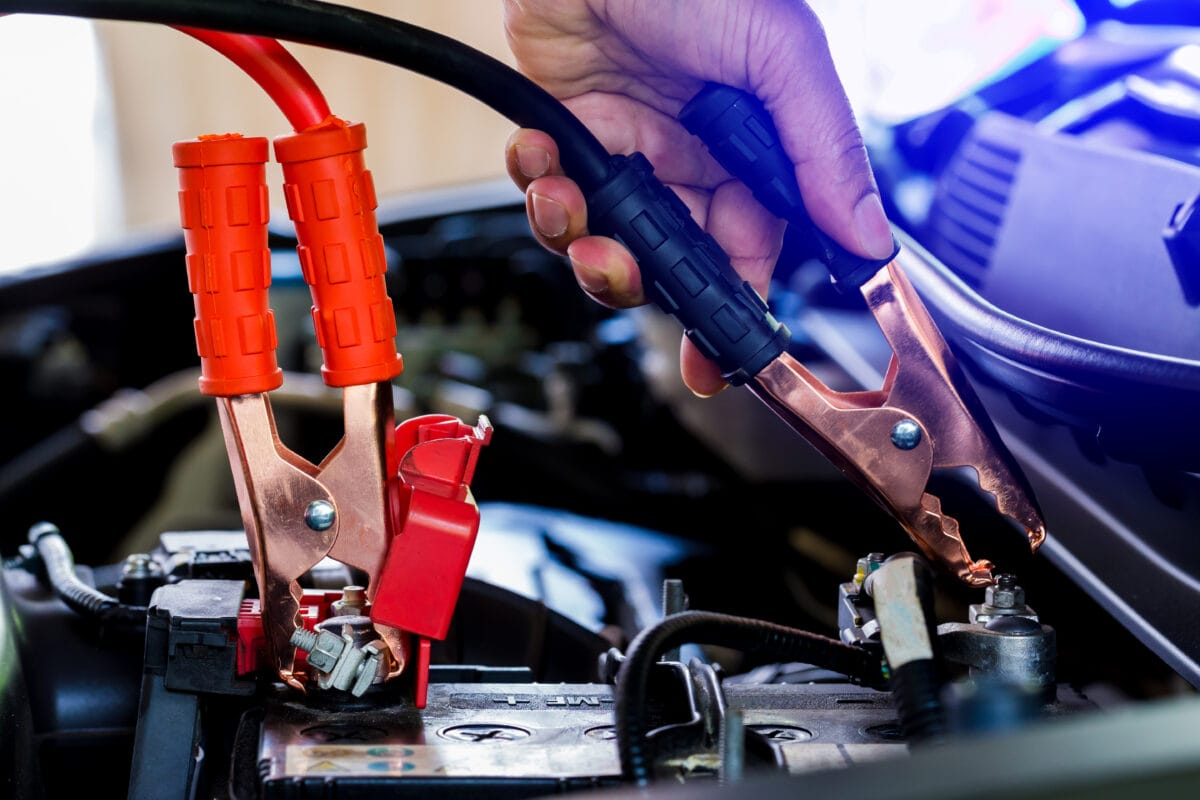
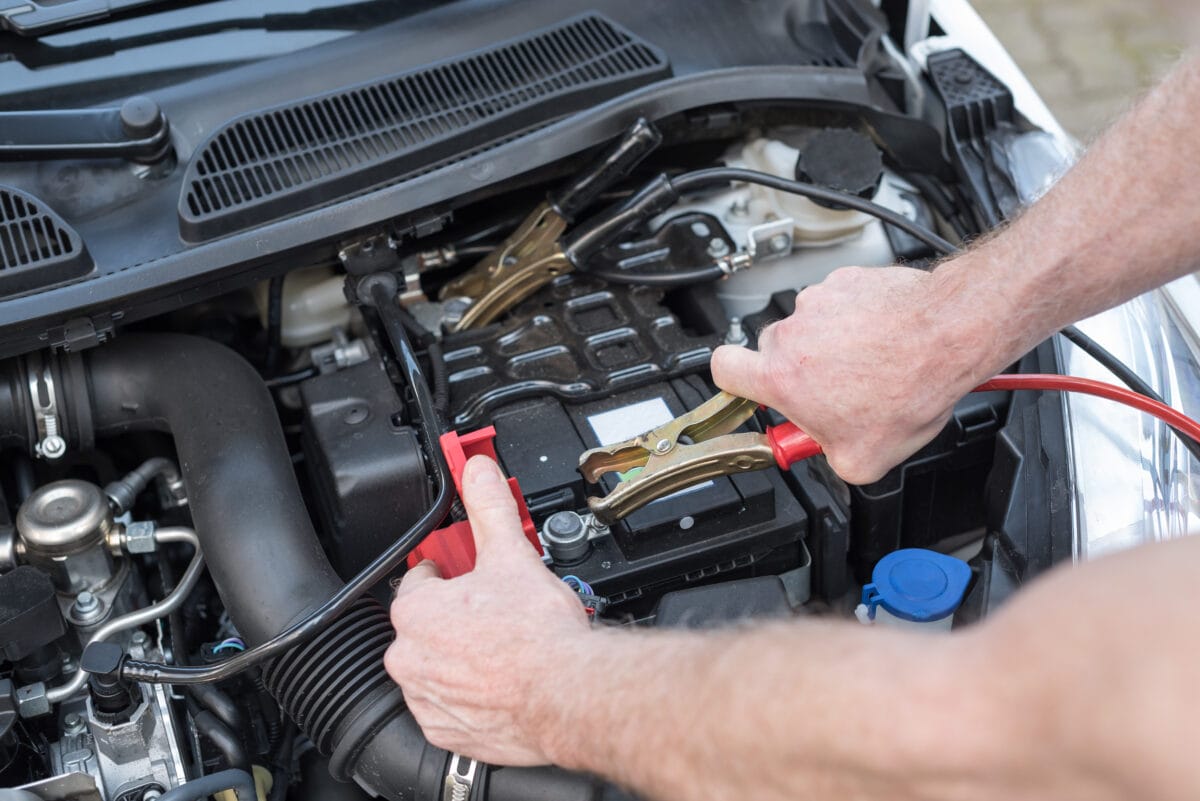
- Connect the red (positive) clamp of the jump starter to the positive terminal of the car battery.
- Connect the black (negative) clamp of the jump starter to a clean, unpainted metal surface in the engine bay, away from the battery.
- Turn on the jump starter and wait for a few minutes to allow the battery to charge.
- Once the battery has gained sufficient charge, attempt to start the vehicle.
Common Mistakes to Avoid During the Process
Avoid connecting the clamps incorrectly, crossing the positive and negative terminals, or allowing the clamps to touch each other during the jump starting process. These mistakes can lead to electrical hazards or damage to the vehicle’s electrical system.
Tips for a Successful Jump Start
Ensure that the jump starter is fully charged before use, follow the manufacturer’s instructions carefully, and be patient during the charging process. If the vehicle does not start after a few attempts, it may indicate a more significant issue with the battery or the vehicle’s electrical system.
Post-Jump Starting Procedures
After successfully jump starting your car, there are a few post-jump starting procedures to follow to ensure the longevity of your battery and prevent future dead battery situations.
Testing the Battery and Alternator
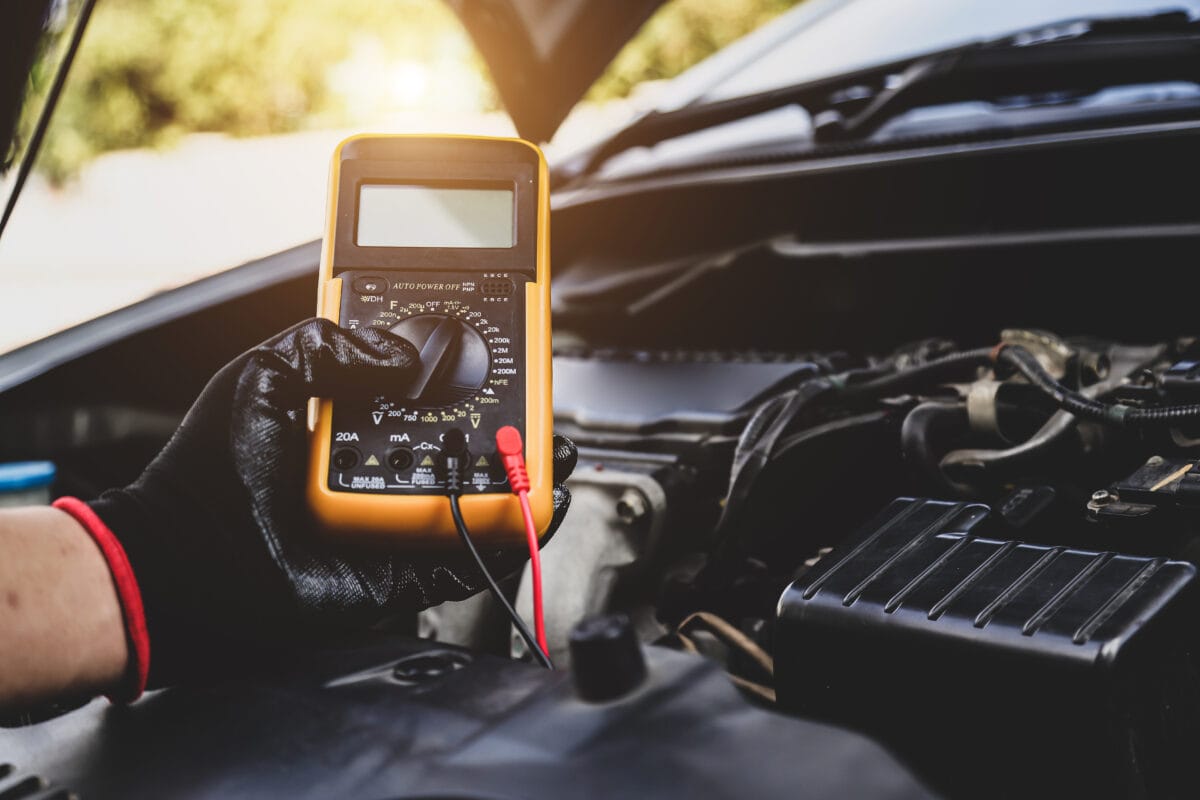
Use a battery tester or multimeter to check the voltage of the car battery and the alternator’s charging output. This will help determine if the battery needs to be replaced or if there are any issues with the vehicle’s charging system.
Properly Storing the Jump Starter
After use, ensure that the jump starter is properly charged and stored in a safe and dry place. Regularly check the jump starter’s battery level and recharge it as needed to maintain its readiness for future use.

Preventive Measures to Avoid Future Dead Battery Situations
To prevent future dead battery situations, consider regularly checking and maintaining your car’s battery, avoiding leaving electrical components on when the engine is off, and using a battery charger to maintain the battery’s charge, especially during cold weather when the battery’s cold cranking amps may be reduced.
The equipment needed, preparing for jump starting, executing the jump starting process, and following post-jump starting procedures are essential for safely and effectively jump starting a car battery using a jump starter. By following the guidelines and safety precautions outlined in this comprehensive guide, you can confidently tackle a dead battery situation and get back on the road with ease.
With a scheduled service appointment at Consumer Tire, our team of ASE-certified technicians, along with state-of-the-art technology, can take care of all your vehicle’s maintenance needs. This includes new tires, tire balancing, tire rotation, and wheel alignment along with our other services. With nine work-bays, a professional team of technicians, and a reputation for dedication to doing quality work since 1962, you can rely on us to do the job right.

 Find a Location Near You