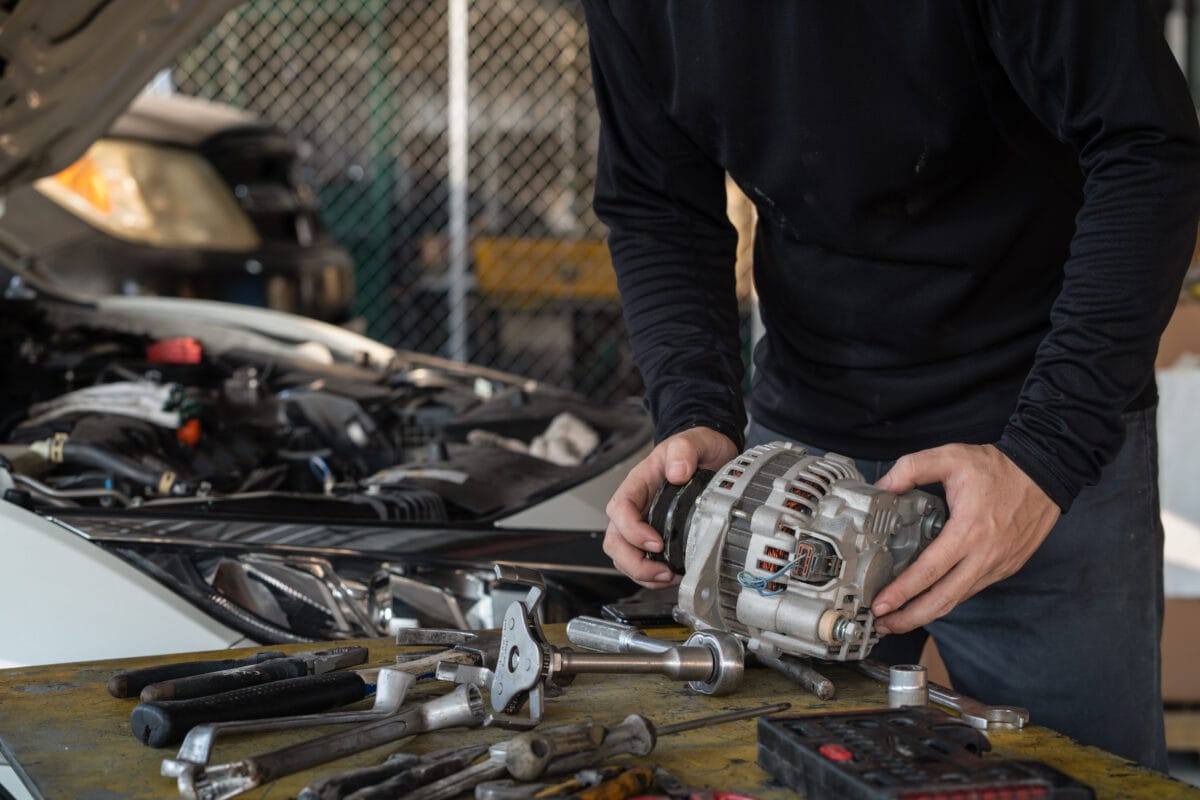
How to Fix a Car Alternator: A Guide to Troubleshooting and Repairing Your Vehicle’s Alternator
Learn how to troubleshoot and repair your car’s alternator with this comprehensive guide. From understanding the signs of a failing alternator to step-by-step repair instructions, this article provides valuable insights and practical tips for all vehicle owners for how to fix car alternator, ensuring a smooth and efficient charging system for your car. Whether you’re a DIY enthusiast or simply want to understand more about your vehicle’s maintenance, this informative piece caters to a wide range of readers, offering in-depth knowledge and guidance on fixing a car alternator.
With a scheduled service appointment at Consumer Tire, our team of ASE-certified technicians, along with state-of-the-art technology, can take care of all your vehicle’s maintenance needs. This includes new tires, tire balancing, tire rotation, and wheel alignment along with our other services. With nine work-bays, a professional team of technicians, and a reputation for dedication to doing quality work since 1962, you can rely on us to do the job right.

Understanding the Signs of a Failing Alternator
When your car’s alternator starts to fail, it can cause a range of issues that affect the vehicle’s electrical system and overall performance. Here are some common signs to look out for:
- Dimming or Flickering Lights: One of the most noticeable signs of a failing alternator is dimming or flickering lights on the dashboard or headlights. This indicates that the alternator is not producing enough power to keep the electrical system running smoothly.
- Strange Noises: If you hear unusual grinding or whining noises coming from the engine, it could be a sign of a failing alternator. These noises typically indicate worn-out bearings or other internal components within the alternator.
- Difficulty Starting the Car: A struggling alternator may not be able to recharge the battery properly, leading to difficulty starting the car. If you find yourself needing frequent jump starts or experiencing sluggish starts, it could be a sign of alternator trouble.
Tools and Equipment Needed for Alternator Repair
Before you begin troubleshooting and repairing your car’s alternator, it’s essential to have the right tools and equipment on hand. Here’s what you’ll need:
- Basic Hand Tools: This includes wrenches, sockets, and screwdrivers for removing and installing components.
- Multimeter: A multimeter is crucial for testing the electrical output of the alternator and diagnosing any issues with the charging system.
- Replacement Alternator (if necessary): If your alternator is beyond repair, you’ll need a replacement alternator that is compatible with your vehicle’s make and model.

Troubleshooting the Alternator
Once you’ve gathered the necessary tools, you can begin troubleshooting the alternator to pinpoint the source of the problem. Here’s a step-by-step guide to help you through the process:
Step 1: Check the Battery
Start by checking the battery to ensure it’s in good condition and holding a charge. A weak or faulty battery can often mimic the symptoms of a failing alternator.
Step 2: Inspect the Drive Belt
Inspect the drive belt connected to the alternator for any signs of wear or damage. A worn-out belt can affect the performance of the alternator and lead to charging issues.
Step 3: Test the Alternator Output
Use a multimeter to test the alternator’s output while the engine is running. This will help you determine if the alternator is producing the correct voltage to power the vehicle’s electrical system.
Repairing the Alternator
If you’ve identified the alternator as the source of the problem, it’s time to proceed with the repair process. Here’s a step-by-step guide to repairing the alternator:
Step 1: Disconnect the Battery
Before working on the alternator, disconnect the battery to prevent any electrical mishaps or shocks.
Step 2: Remove the Old Alternator
Use your basic hand tools to remove the old alternator from the engine bay, taking note of the mounting brackets and electrical connections.
Step 3: Install the New Alternator
Carefully install the new alternator in place, ensuring all connections are secure and the mounting brackets are properly aligned.
Step 4: Reconnect the Battery and Test the Alternator
Once the new alternator is in place, reconnect the battery and start the car to test the alternator’s performance. Use the multimeter to verify that the alternator is producing the correct voltage.
By understanding the signs of a failing alternator, gathering the necessary tools, and following the troubleshooting and repair steps outlined in this guide, you can effectively address any issues with your car’s charging system. Whether you’re a DIY enthusiast or simply want to save on repair costs, taking the time to troubleshoot and repair your car’s alternator can lead to a smoother and more efficient driving experience. Remember to always prioritize safety and consult a professional if you encounter any challenges beyond your expertise.

 Find a Location Near You